
When you move into a newly built home, addition, or major renovation, you expect it to be a safe, dry place to live.
Unfortunately, there are many things that can go wrong during design and construction that can lead to moisture, mold, and even rot in a brand-new home. I hear stories far too often about homeowners discovering significant mold problems shortly after moving in.
I am not a mold remediation specialist. I can’t tell you the difference between bad mold and really bad mold. So, for the purposes of designing a home, I operate under a pretty simple assumption: no mold is good mold.
That’s not only because of the potential impact mold can have on indoor air quality. Mold is also a warning sign that there is a moisture problem somewhere.
And ongoing moisture problems can have serious consequences for the durability, safety, and air quality of your home.
While I’m not an expert in mold remediation, I am an architect who designs homes to manage water and moisture so they stay dry, durable, and comfortable for the long term.
The good news is that when you’re designing a new home or undertaking a major renovation, there are a lot of things you can do to reduce the risk of water and moisture problems.
And many of those decisions should happen long before construction begins.
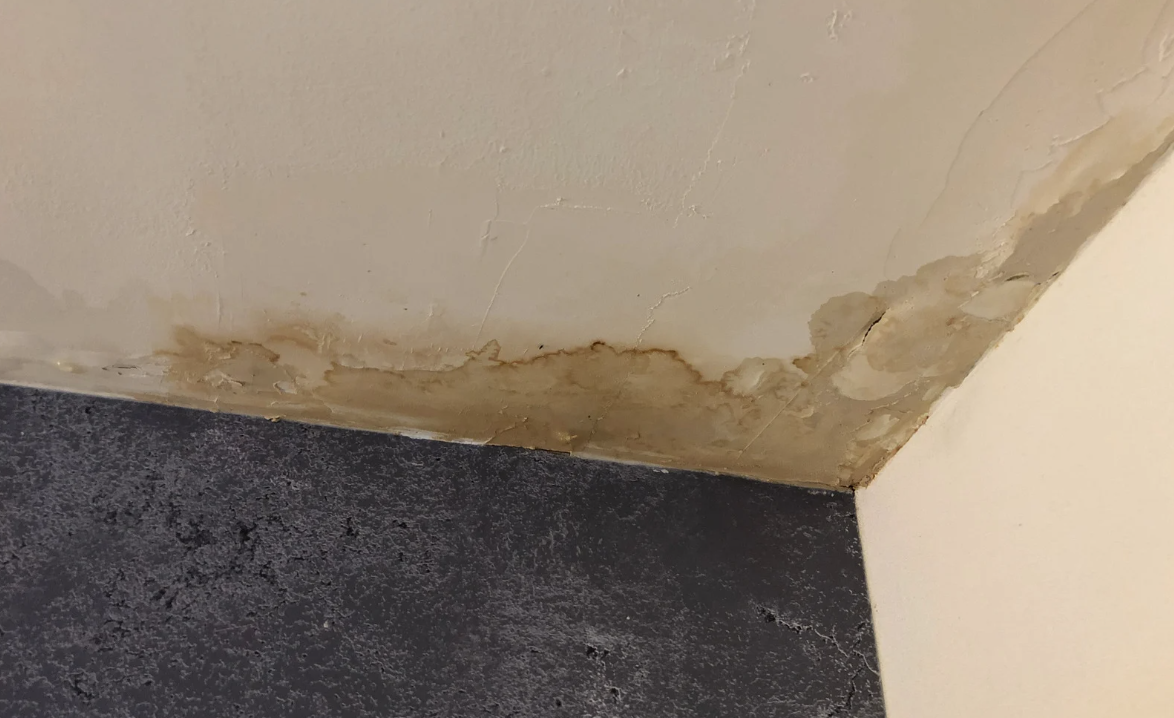
How does water get into a house?
Water is sneaky. There are several different ways it can get into your house uninvited.
The one we probably think of first is actual liquid water: rain leaking through a roof, groundwater entering a basement, melting snow, or water from a plumbing leak. The building science world calls this bulk water.
But bulk water is only one way moisture can enter and damage a home.
Water can also move through tiny spaces in building materials through something called capillary action. Think of how a paper towel soaks up a spill. Building materials can move water in a similar way. If the exterior of a house isn’t designed and detailed properly, water can work its way into places where it doesn’t belong.
Then there is water vapor.
Water vapor is naturally present in the air. When warm, humid air moves through cracks and gaps in a building enclosure, it brings that moisture with it. If that humid air reaches a cold surface inside a wall or roof assembly, the water vapor can condense into liquid water.
Moisture can also move through building materials through vapor diffusion. You don’t need to understand the physics behind it, but you do need to know that walls and roofs should be designed with moisture movement and drying in mind.
If water gets into a house and can’t dry out, mold and rot can eventually occur.
That’s why good moisture management isn’t about one magic product. It requires several layers of protection.

Start with a properly designed foundation:
Keeping a house dry starts at the ground.
Water around the foundation needs somewhere to go other than into your basement, crawl space, or slab.
Depending on your foundation type, climate, soil conditions, and site, that may include:
- A durable vapor barrier below the concrete slab, with seams and penetrations carefully sealed
- Waterproofing or dampproofing at below-grade foundation walls as appropriate
- A drainage layer or drainage board at foundation walls
- Perimeter footing drains
- Properly designed gutters and downspouts that move roof water away from the foundation
- Grading that slopes away from the house
- Well-draining material around the foundation
- A capillary break between concrete and wood framing
- Roof overhangs that help keep rain and snowmelt away from walls and the foundation
These details are much easier and less expensive to get right while the house is being designed and built than they are to fix later.
Ask your architect, designer, or builder: How are we keeping groundwater, rainwater, and moisture from moving through the foundation and into the house?
They should have an answer.
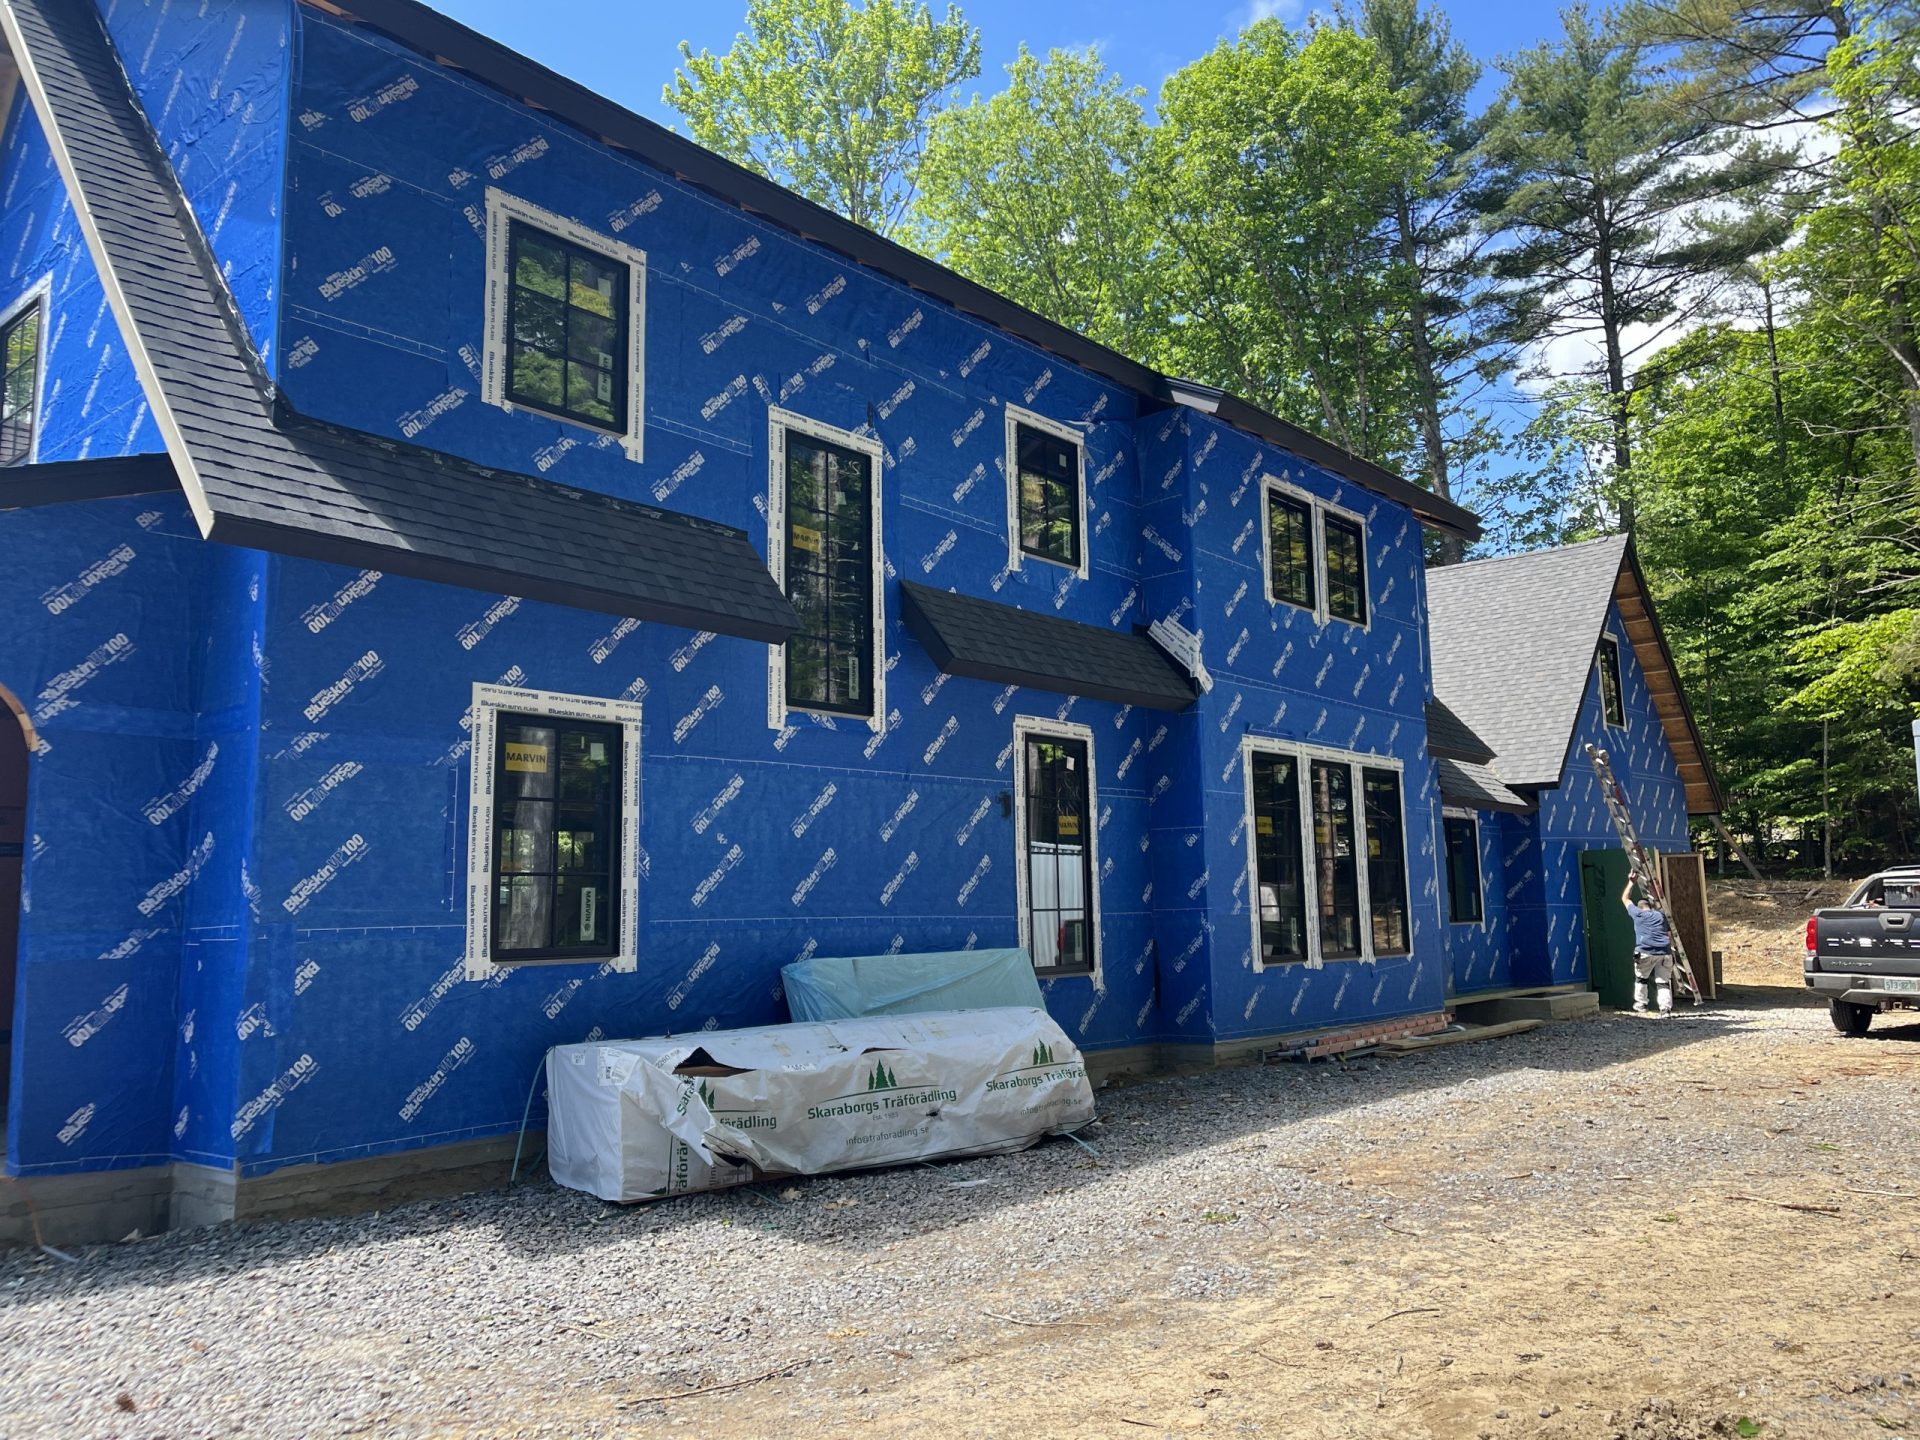
Pay attention to flashing:
Flashing is one of the unsung heroes of a dry house.
Flashing is a material or system used to direct water away from joints, openings, penetrations, and transitions in the building enclosure. It might be metal, flexible flashing tape, a membrane, or a combination of materials.
As a homeowner, you should not be expected to know exactly how every window, roof intersection, or deck connection should be flashed.
That is your design and construction team’s job. But you should know that these details matter.
I’ve seen deck ledger boards attached to houses without proper flashing. I’ve seen complicated roof-to-wall intersections that were never adequately detailed. I hear about water getting in around windows all the time. These can become major water problems even though they look like small construction details.
Some of the areas that need careful flashing and water management include:
- Windows and exterior doors
- Roof-to-wall intersections
- Roof valleys
- Roof edges
- Wall and roof penetrations, including pipes, vents, electrical boxes, and hose bibs
- Chimneys
- Decks and porches attached to the house
- Changes in siding materials
- Any other place where materials, roofs, walls, or openings meet
You don’t need to tell your contractor how to flash these areas. But you can ask questions.
How will the windows be flashed? How are you handling the deck connection? What happens where this roof meets that wall?
A good contractor should be comfortable explaining how water will be directed down and away from the house.

Intello Vapor Retarder Membrane acts as the air barrier in this project.
Build a good air barrier:
Water doesn’t only enter as rain. Moisture can also travel with moving air.
That means controlling air leakage is an important part of moisture control.
Your house should have a continuous air barrier around the conditioned space. That air barrier might be created with exterior sheathing, membranes, tapes, sealants, or other systems depending on how the house is designed.
The important part is continuity.
Joints, transitions, penetrations, and connections between materials are usually the places that require the most attention.
And instead of simply assuming the house is airtight, test it.
A blower door test measures how much air is leaking through the building enclosure. Ideally, air-sealing goals and blower door testing should be discussed with your builder before construction begins, not added as an afterthought.
Once you build a tight house, you also need controlled mechanical ventilation to bring fresh air in and exhaust stale air.
That is where an ERV or HRV may come in.
An ERV (energy recovery ventilator) can help moderate the amount of moisture transferred with ventilation air, but it is important to understand that an ERV is not a dehumidifier. Depending on your climate and conditions, your home may still need dedicated dehumidification.
The goal is to control where your air comes from instead of relying on random cracks and gaps throughout the house for "fresh air."
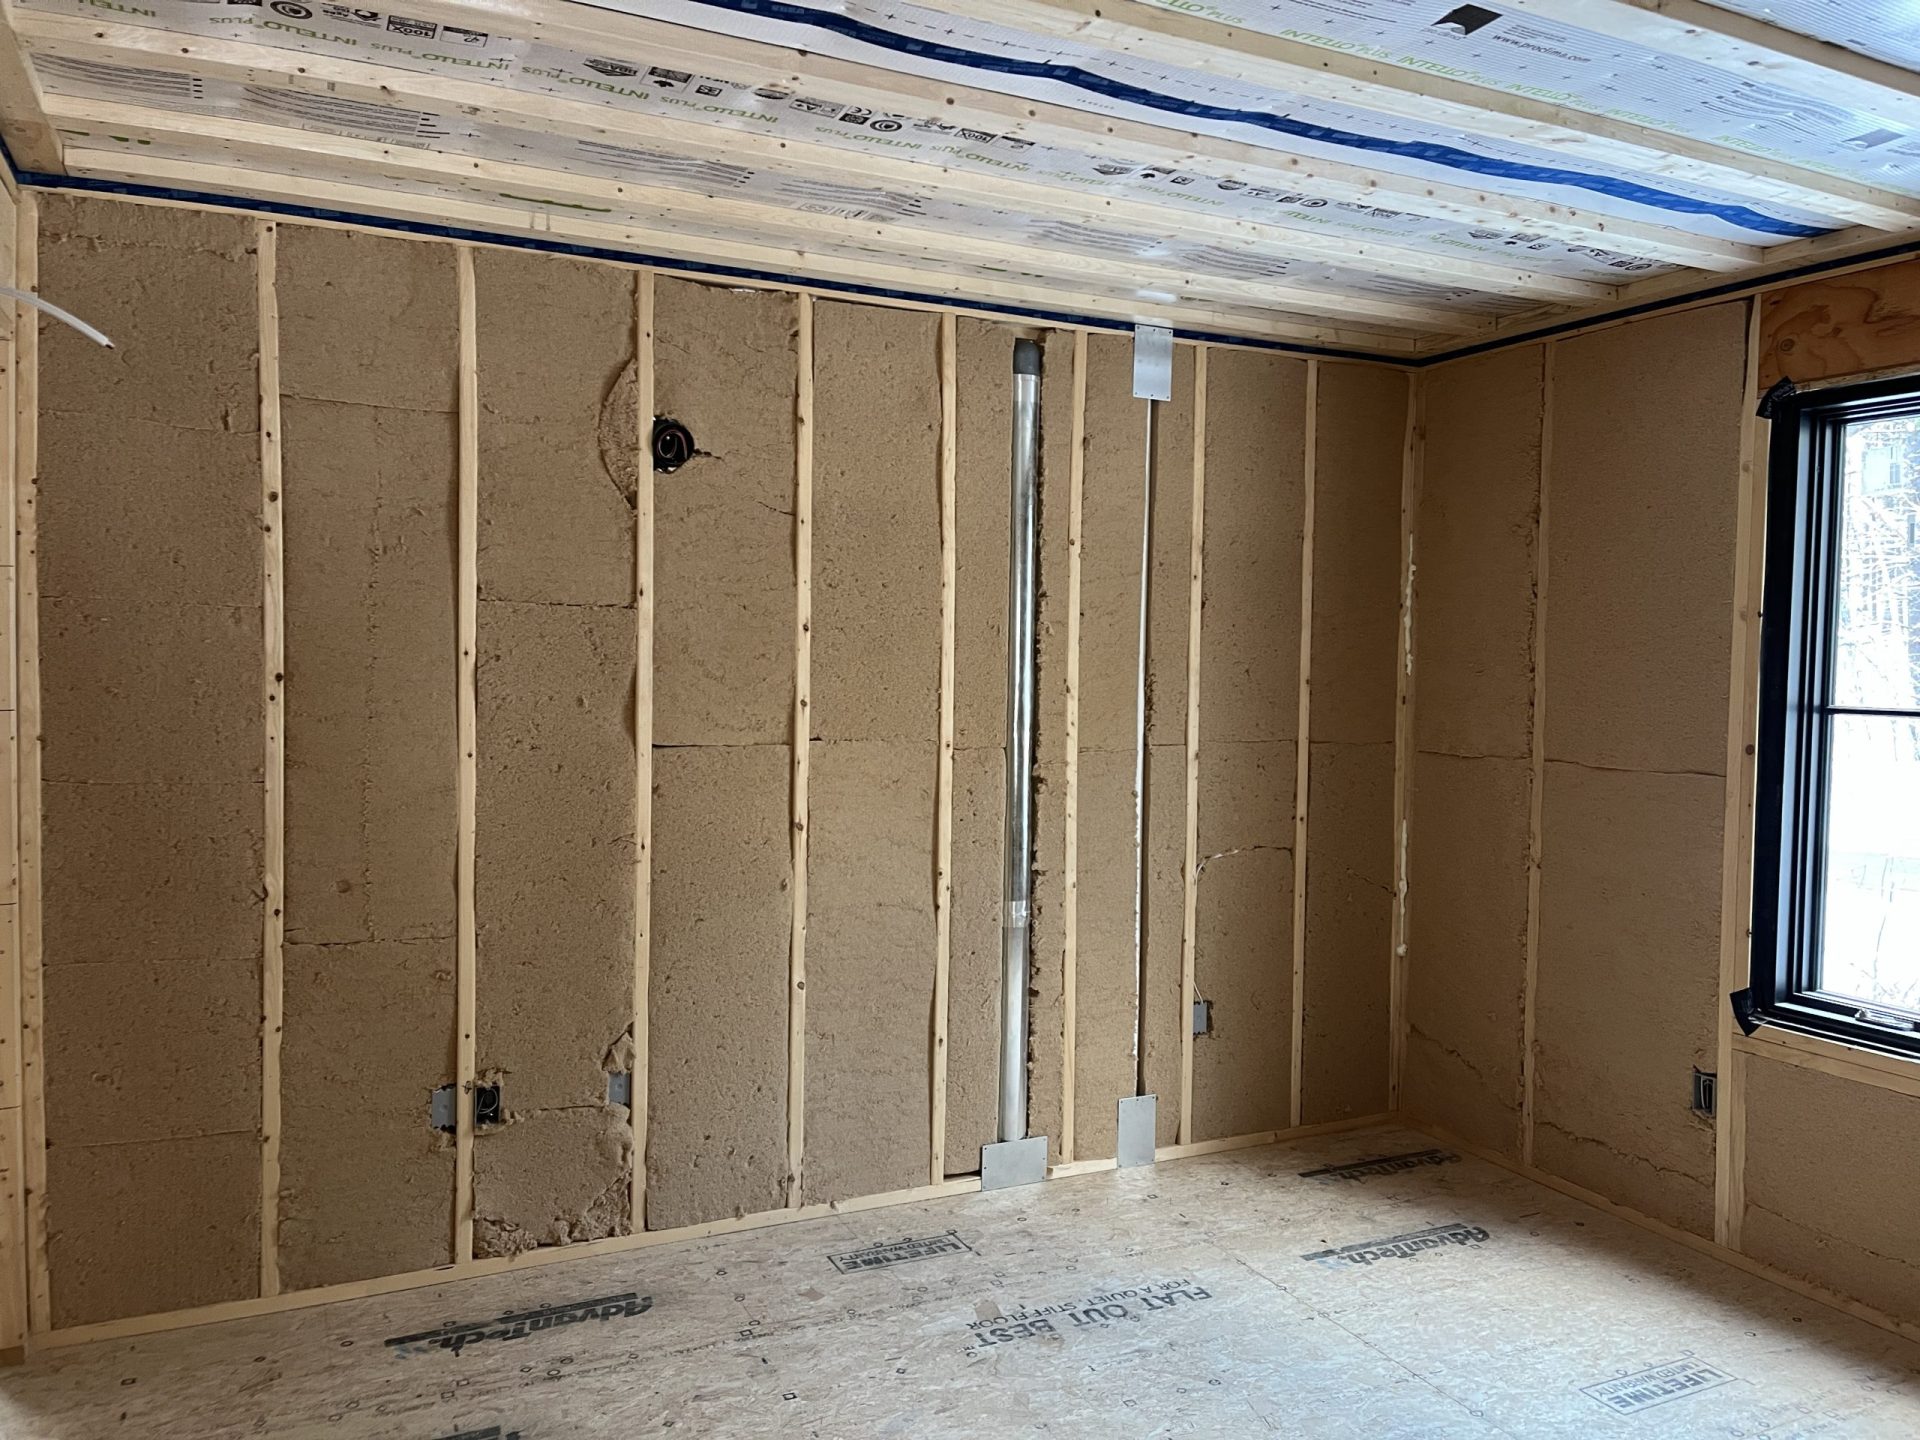
My personal favorite wall cavity insulation: Wood Fiber. This is part of a vapor-open wall assembly.
Design walls and roofs so they can dry:
Here is an important building-science principle:
We should assume that eventually, some moisture will get somewhere we didn’t intend it to go.
That doesn’t mean we accept leaks. It means we design assemblies that are resilient when small amounts of moisture inevitably occur.
Walls and roofs need an appropriate strategy for controlling vapor and allowing drying.
This is where things get more complicated because the right wall assembly depends on your climate, insulation, exterior materials, heating and cooling systems, and other factors.
In general, you want to avoid accidentally trapping moisture between materials that severely limit drying in both directions. This can happen when you have an impermeable material on the inside face of your wall and the outside face of your wall.
For example, if you have rigid foam insulation on the outside of your wall and a plastic vapor barrier on the inside of your wall, any moisture that gets into the wall cavity (whether it’s from a leak or from condensation) won’t be able to get back out.
Your architect or building professional should be able to explain:
If moisture gets into this wall or roof, how can it dry?
You don’t need to know the exact perm rating of every material in your house (But if you want to impress your design and construction team, I highly encourage you to have some of those facts in your back pocket.)
At a minimum, you want to know that somebody has actually thought through the moisture strategy.
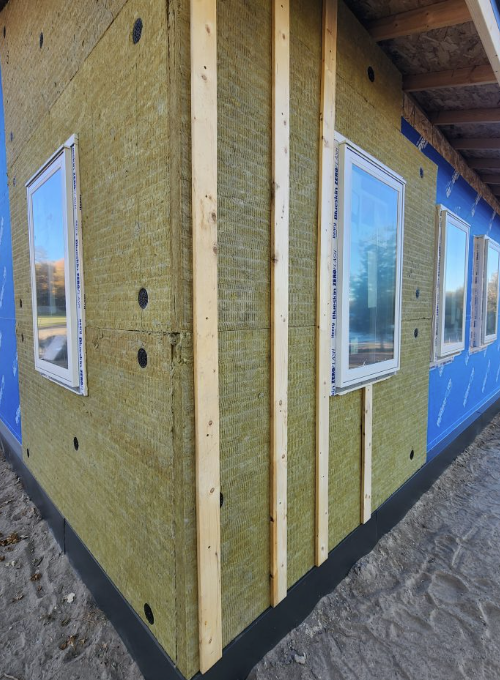
Image: Green Building Advisor. The vertical wood pieces create the rainscreen behind the siding.
Use a rainscreen behind the siding:
Here is another relatively simple strategy that can make a big difference. Your siding is not the primary waterproof layer of your house. Some rain will get behind it.
A rainscreen creates a drainage and ventilation space between the siding and the water-resistive barrier behind it. That gap gives water a way to drain out and helps the materials behind the siding dry. It can also help siding and exterior finishes last longer.
Ask whether your exterior wall design includes a rainscreen or drainage space behind the siding.
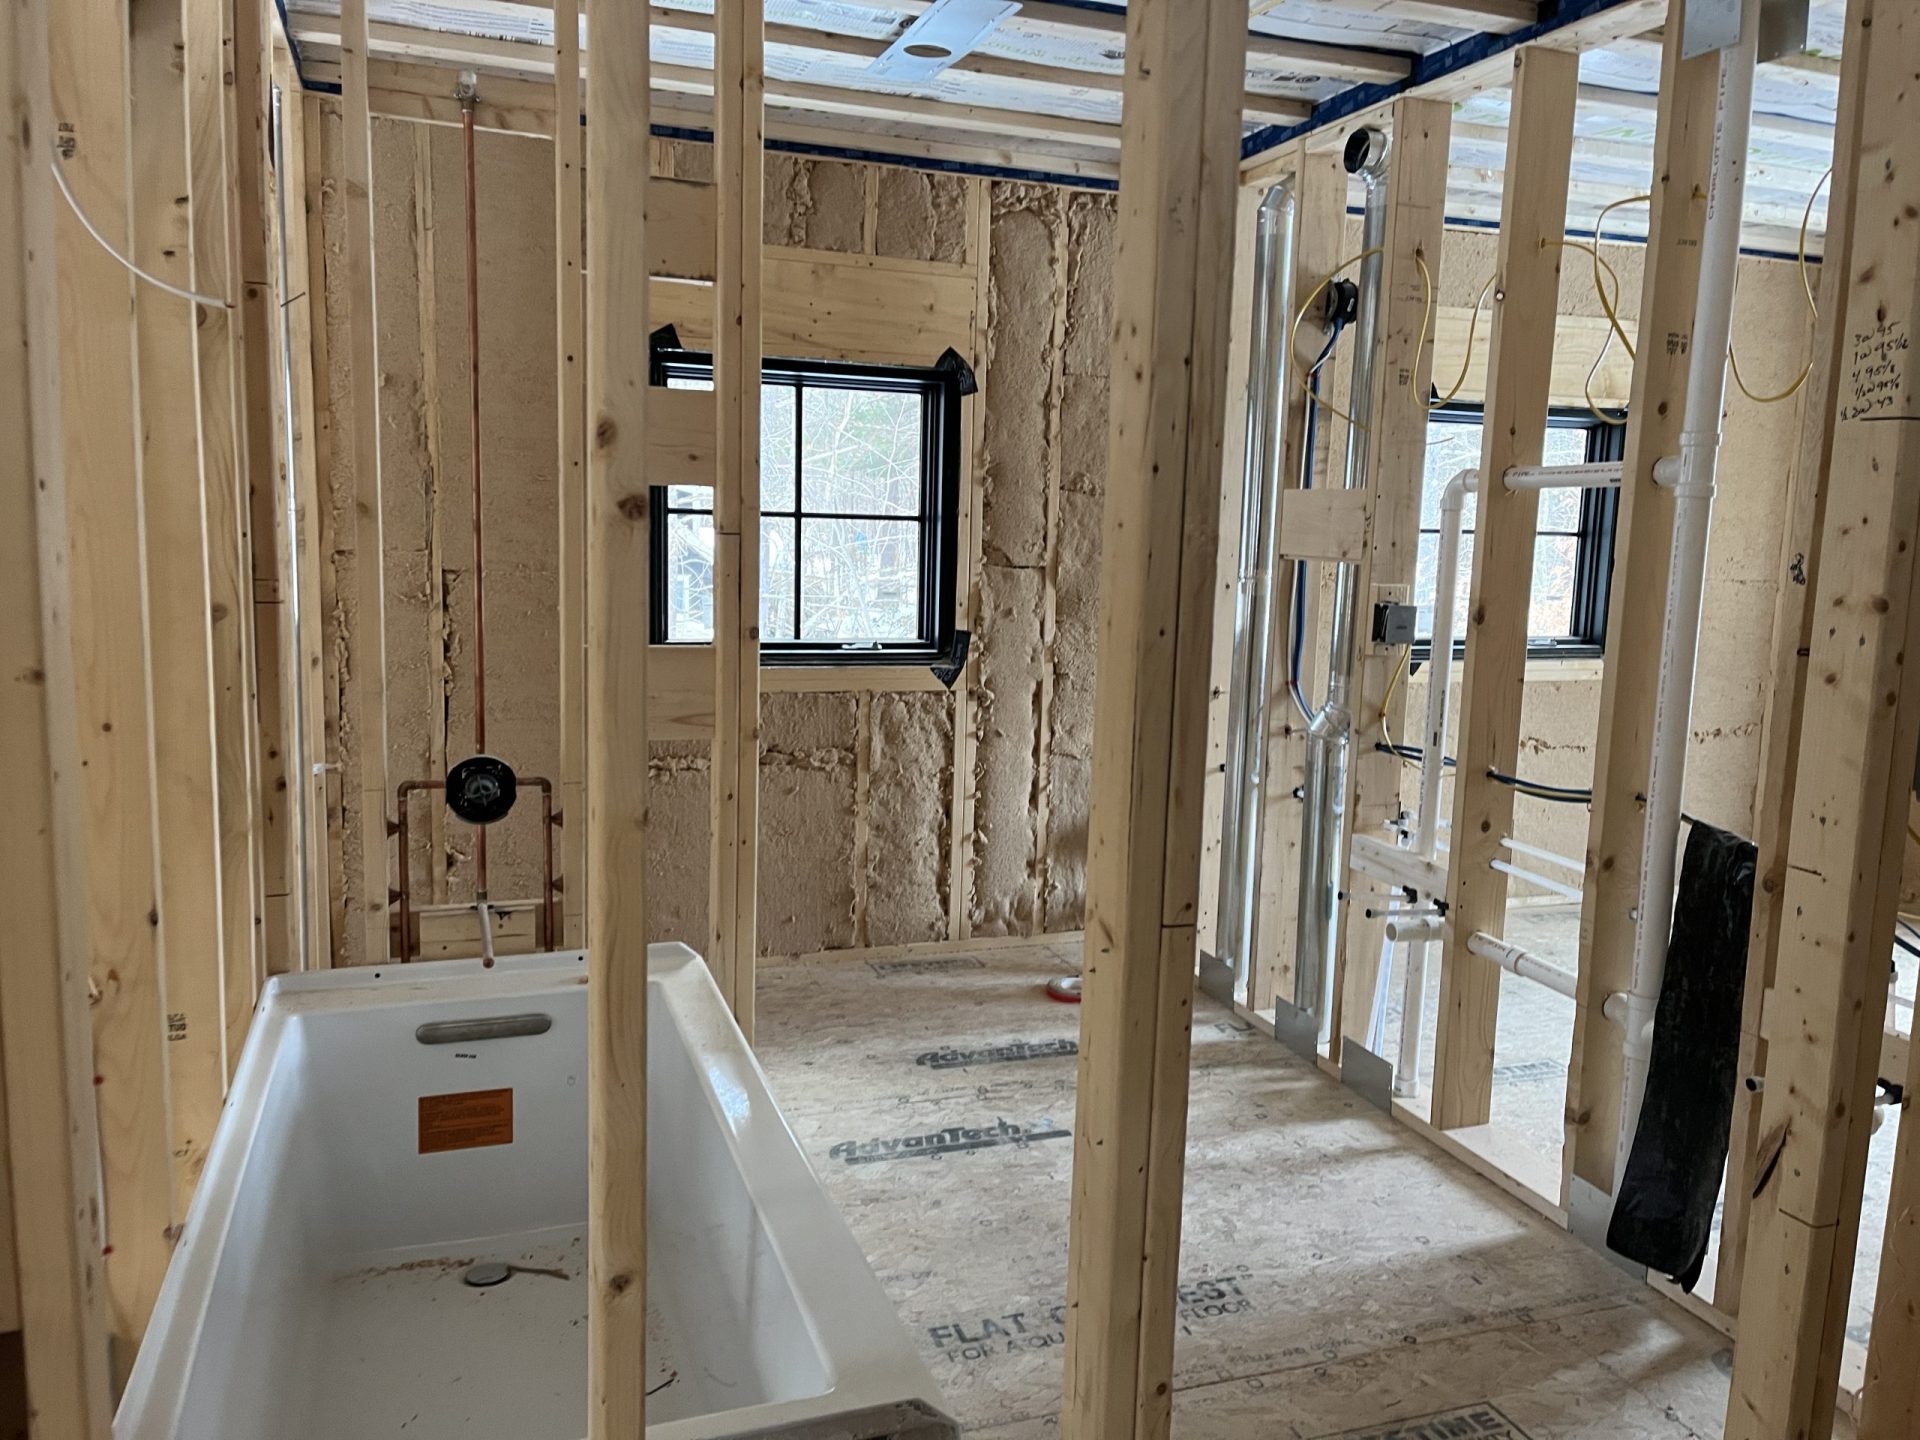
Don't forget about plumbing leaks:
Not all water problems come from outside the house.
Plumbing leaks can cause an enormous amount of damage, especially when they happen somewhere you can't easily see them. While you can't guarantee that a plumbing leak will never happen, you can design your home to reduce the risk and make leaks easier to notice before they become major problems.
A few strategies to consider:
- Install a metal drain pan below the washing machine and dishwasher. Ideally, the pan should drain somewhere appropriate rather than simply holding water.
- Consider a floor drain in the laundry room, especially if the laundry is located on an upper floor or above finished space.
- Use easily accessible shutoff valves for fixtures and appliances.
- Consider automatic leak detection and shutoff devices. These systems can monitor for unusual water use or detect water in vulnerable locations and automatically shut off the home's water supply.
- Install individual water sensors in high-risk locations, such as below sinks, near the water heater, washing machine, dishwasher, refrigerator, and other water-using appliances.
- Think carefully about where water heaters and other water-using equipment are located. A leak in an unfinished basement is very different from a leak in an attic or above a finished ceiling.
- Make sure exterior hose bibs are appropriate for your climate and properly protected from freezing.
- If you live in a cold climate, avoid locating plumbing in exterior walls whenever possible. Pipes in exterior walls are more vulnerable to freezing.
You don't need to incorporate every one of these strategies. The important thing is to think about what happens when something leaks, not just assume that it won't.
Ask your contractor: Where are the biggest plumbing leak risks in this house, and what are we doing to limit the damage if a leak happens?
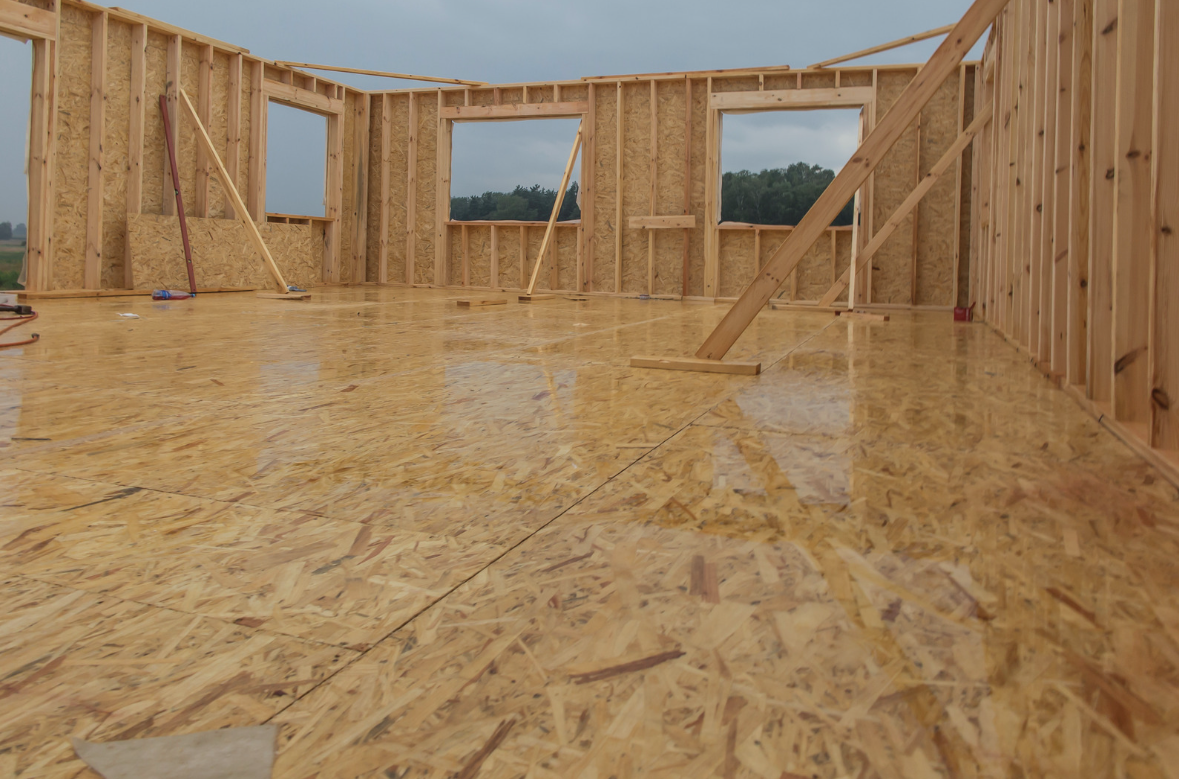
What if the house gets wet during construction?
This is something I hear homeowners worry about a lot.
Your house will probably get wet at some point during construction.
Before the roof, windows, doors, and weather barriers are complete, rain and snow can get inside. Framing lumber also contains moisture naturally and may get wetter after it arrives on site.
Don't panic just because your framing got rained on.
An open wood-framed structure generally has plenty of opportunity to dry, and getting wet does not automatically mean you're going to have a mold problem.
What matters is what happens next.
You don't want materials staying wet for extended periods, and you especially don't want wet materials covered up before they've had a chance to dry.
As a homeowner, there are a few things you can keep an eye on and discuss with your contractor:
- Ask how moisture-sensitive materials will be stored and protected from weather.
- Ask how they plan to manage significant rain or snow during construction.
- Look for standing water or materials that remain visibly wet for long periods.
- If there has been significant wetting, ask how the contractor plans to dry things out.
- Before insulation, drywall, flooring, or other finishes cover the structure, ask whether the framing and sheathing are sufficiently dry. You can also purchase a moisture meter and test it yourself if the contractor isn’t checking the moisture levels before closing things in.
- If materials have been repeatedly soaked, damaged, or show signs of deterioration or mold growth, ask whether they should be cleaned, evaluated, or replaced rather than simply covered.
The big thing to remember is this:
Water getting into your unfinished house isn't necessarily the problem. Water getting trapped inside the finished house is.
So if you visit your construction site after a rainstorm and see wet framing, don't immediately assume your new house is ruined. Ask questions, make sure there is a plan for drying, and make sure wet materials aren't being enclosed just to keep the construction schedule moving.
You don't need to become a building scientist:
There are a lot of ways water and moisture can cause problems in a house.
And if you're reading this thinking, How am I supposed to know whether every one of these details is being done correctly?, you aren't.
You shouldn't have to become an expert in flashing, vapor diffusion, drainage planes, moisture meters, and psychrometrics just because you want a house that doesn't rot.
What you can do is understand the basic principles well enough to ask better questions.
Before construction begins, talk with your architect, designer, and contractor about how your home will manage water.
- Ask about the foundation drainage.
- Ask how windows, doors, roofs, decks, and penetrations will be flashed.
- Ask where the air barrier is.
- Ask how walls and roofs will be able to dry.
- Ask whether there will be a rainscreen.
- Ask how materials will be protected from weather during construction.
- And ask how they will make sure wet framing and other materials are sufficiently dry before they are covered.
You don't need to know every technical detail.
But by making it clear from the beginning that water and moisture management are priorities for you, you can help make sure those conversations happen before a problem is hidden inside your brand-new walls.
Because the best time to deal with a moisture problem is before it becomes one.
Healthy Home Design Review
Get an expert review of your floor plans by an architect BEFORE you build so you can move forward knowing it’s right for your goals, your lifestyle, your health and well-being, and the planet.